I originally thought about buying one of the name brand portable fire pits. They look nice and the idea of low smoke was appealing. Then I kept thinking how my backyard would look better with a built-in stone fire pit and I decided it would be a fun project to do.

No one likes having to constantly move around the fire because of smoke. If you aren’t familiar with the term smokeless fire pit, here’s a disclaimer: It’s more of a less-smoke fire pit, rather than smokeless, but when it’s hot there isn’t much smoke!
How I built my smokeless fire pit:
First, make sure you follow your local guidelines. My local laws allow fire pits, but it’s required to be a minimum of 15 feet alway from any structure. I have a deck, so I measured from the end of my deck (not the house), to ensure I had plenty of space and was compliant.
Materials I used:
Pavers: I used three layers for the fire pit structure. I ended up being two pavers short originally and had to go back to the store, so double check your measurements!
Metal Fire Pit Ring: This has a couple different purposes. One, it protects the stone pavers from direct contact and exposure to the extreme heat of the fire. This should prolong the life of the fire pit. Two, the metal ring helps contain the heat and is important for the smokeless feature. Third, I liked the aesthetics of the ring! It looks nice.
Sand: For leveling and stabilizing the pavers.
Decorative Rock and Gravel: To enhance the aesthetic appeal and to give an additional barrier between the fire and the ground.
Drill and Metal Drill Bit: For making holes in the metal ring to create the smokeless feature.
Shovel and Tamper: For ground preparation.
Bubble Level: To ensure an even base.
Black high temperature paint: For the metal fire pit ring.
Step-by-Step Instructions:
Step 1: Prepare the Fire Pit Location
I measured out a spot in the yard to ensure I had enough distance between my deck and the new fire pit. I also had my yard marked prior to starting to make sure I wasn’t near any water, gas, or electrical lines. I started by measuring and marking my circle. You could also lay the first layer of your pavers down and start by digging around them, then moving them again to finish digging. I primarily used a garden spade shovel to dig out the area. I only dug down a couple of inches to ensure the area was level.
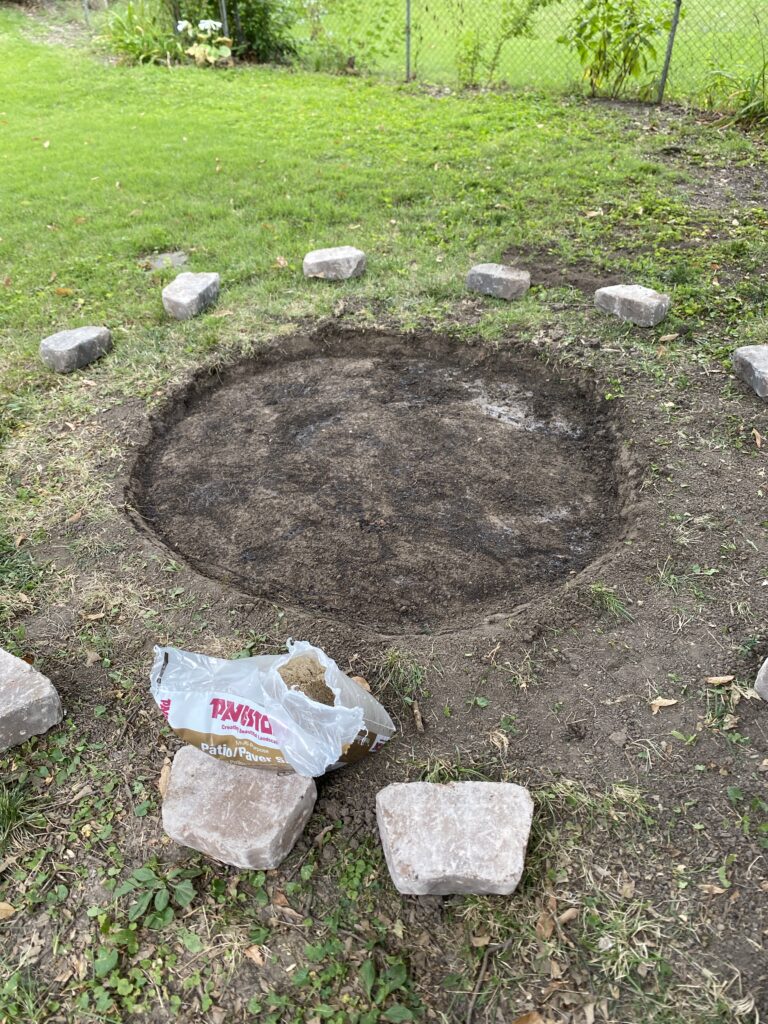
As you go, keep checking your area to ensure it is level. If you don’t have a long level, you can place a 2×4 across the area and put your level on top of it. I then added a base layer of paver sand to the area. Compact the sand with a tamper or use a brick like a caveman. This will keep it from settling.
Step 2: The First Layer of Pavers
Like anything, there’s more than one way to do this. I opted to leave several gaps in the first layer of pavers. I’ve seen people cut stone or use varying sizes to achieve the same outcome, but leaving gaps in between several of the pavers seemed like the easiest route. These gaps provide outside air which rises behind the metal ring, which then provides a secondary combustion when it feeds the fire out of the holes in the ring. That’s the idea anyway.
Step 3: Adding Additional Layers
Stack the next two layers of pavers on top of the first. I offset each layer for stability. You don’t need to leave gaps for air in the next two layers. You can use construction adhesive to permanently glue the stone together, but I wouldn’t recommend doing it until after you’re done and entirely sure you don’t have to move it or take it apart.
Step 4: Prepping the Metal Ring
Drill holes in the metal ring. You want the holes in the ring to be relatively close to the top of the ring. I drilled roughly two inches down from the top and spaced them six inches apart. I used a pilot hole first, then worked my way up to a 3/8 metal drill bit. When drilling with metal, be sure to wear gloves and eye protection. Even though the metal ring I had bought was already painted, I spray painted the ring in hi-temp black paint to ensure the holes I drilled were covered.
Step 5: Adding Rock
The type of rock you want to add is up to you. I used several bags of marble chips to fill in the inside of the fire pit and around the outside of the stone pavers. Lava rock would also work well. I had thought about adding the decorative fire glass, but I liked the way the marble chips turned out. Avoid river rocks as they can contain water and there’s a chance they could explode under extreme heat and send hot rock shards flying.
Step 6: Starting the Smokeless Fire Pit
When it comes to using your fire pit, be sure to primarily burn seasoned wood. You can get away with burning sticks, but if you continue to only use green wood that still has a lot of moisture, your fire will put off more smoke. In using my fire pit, I’ve found that getting the fire hot quickly allows for the least smoke possible.
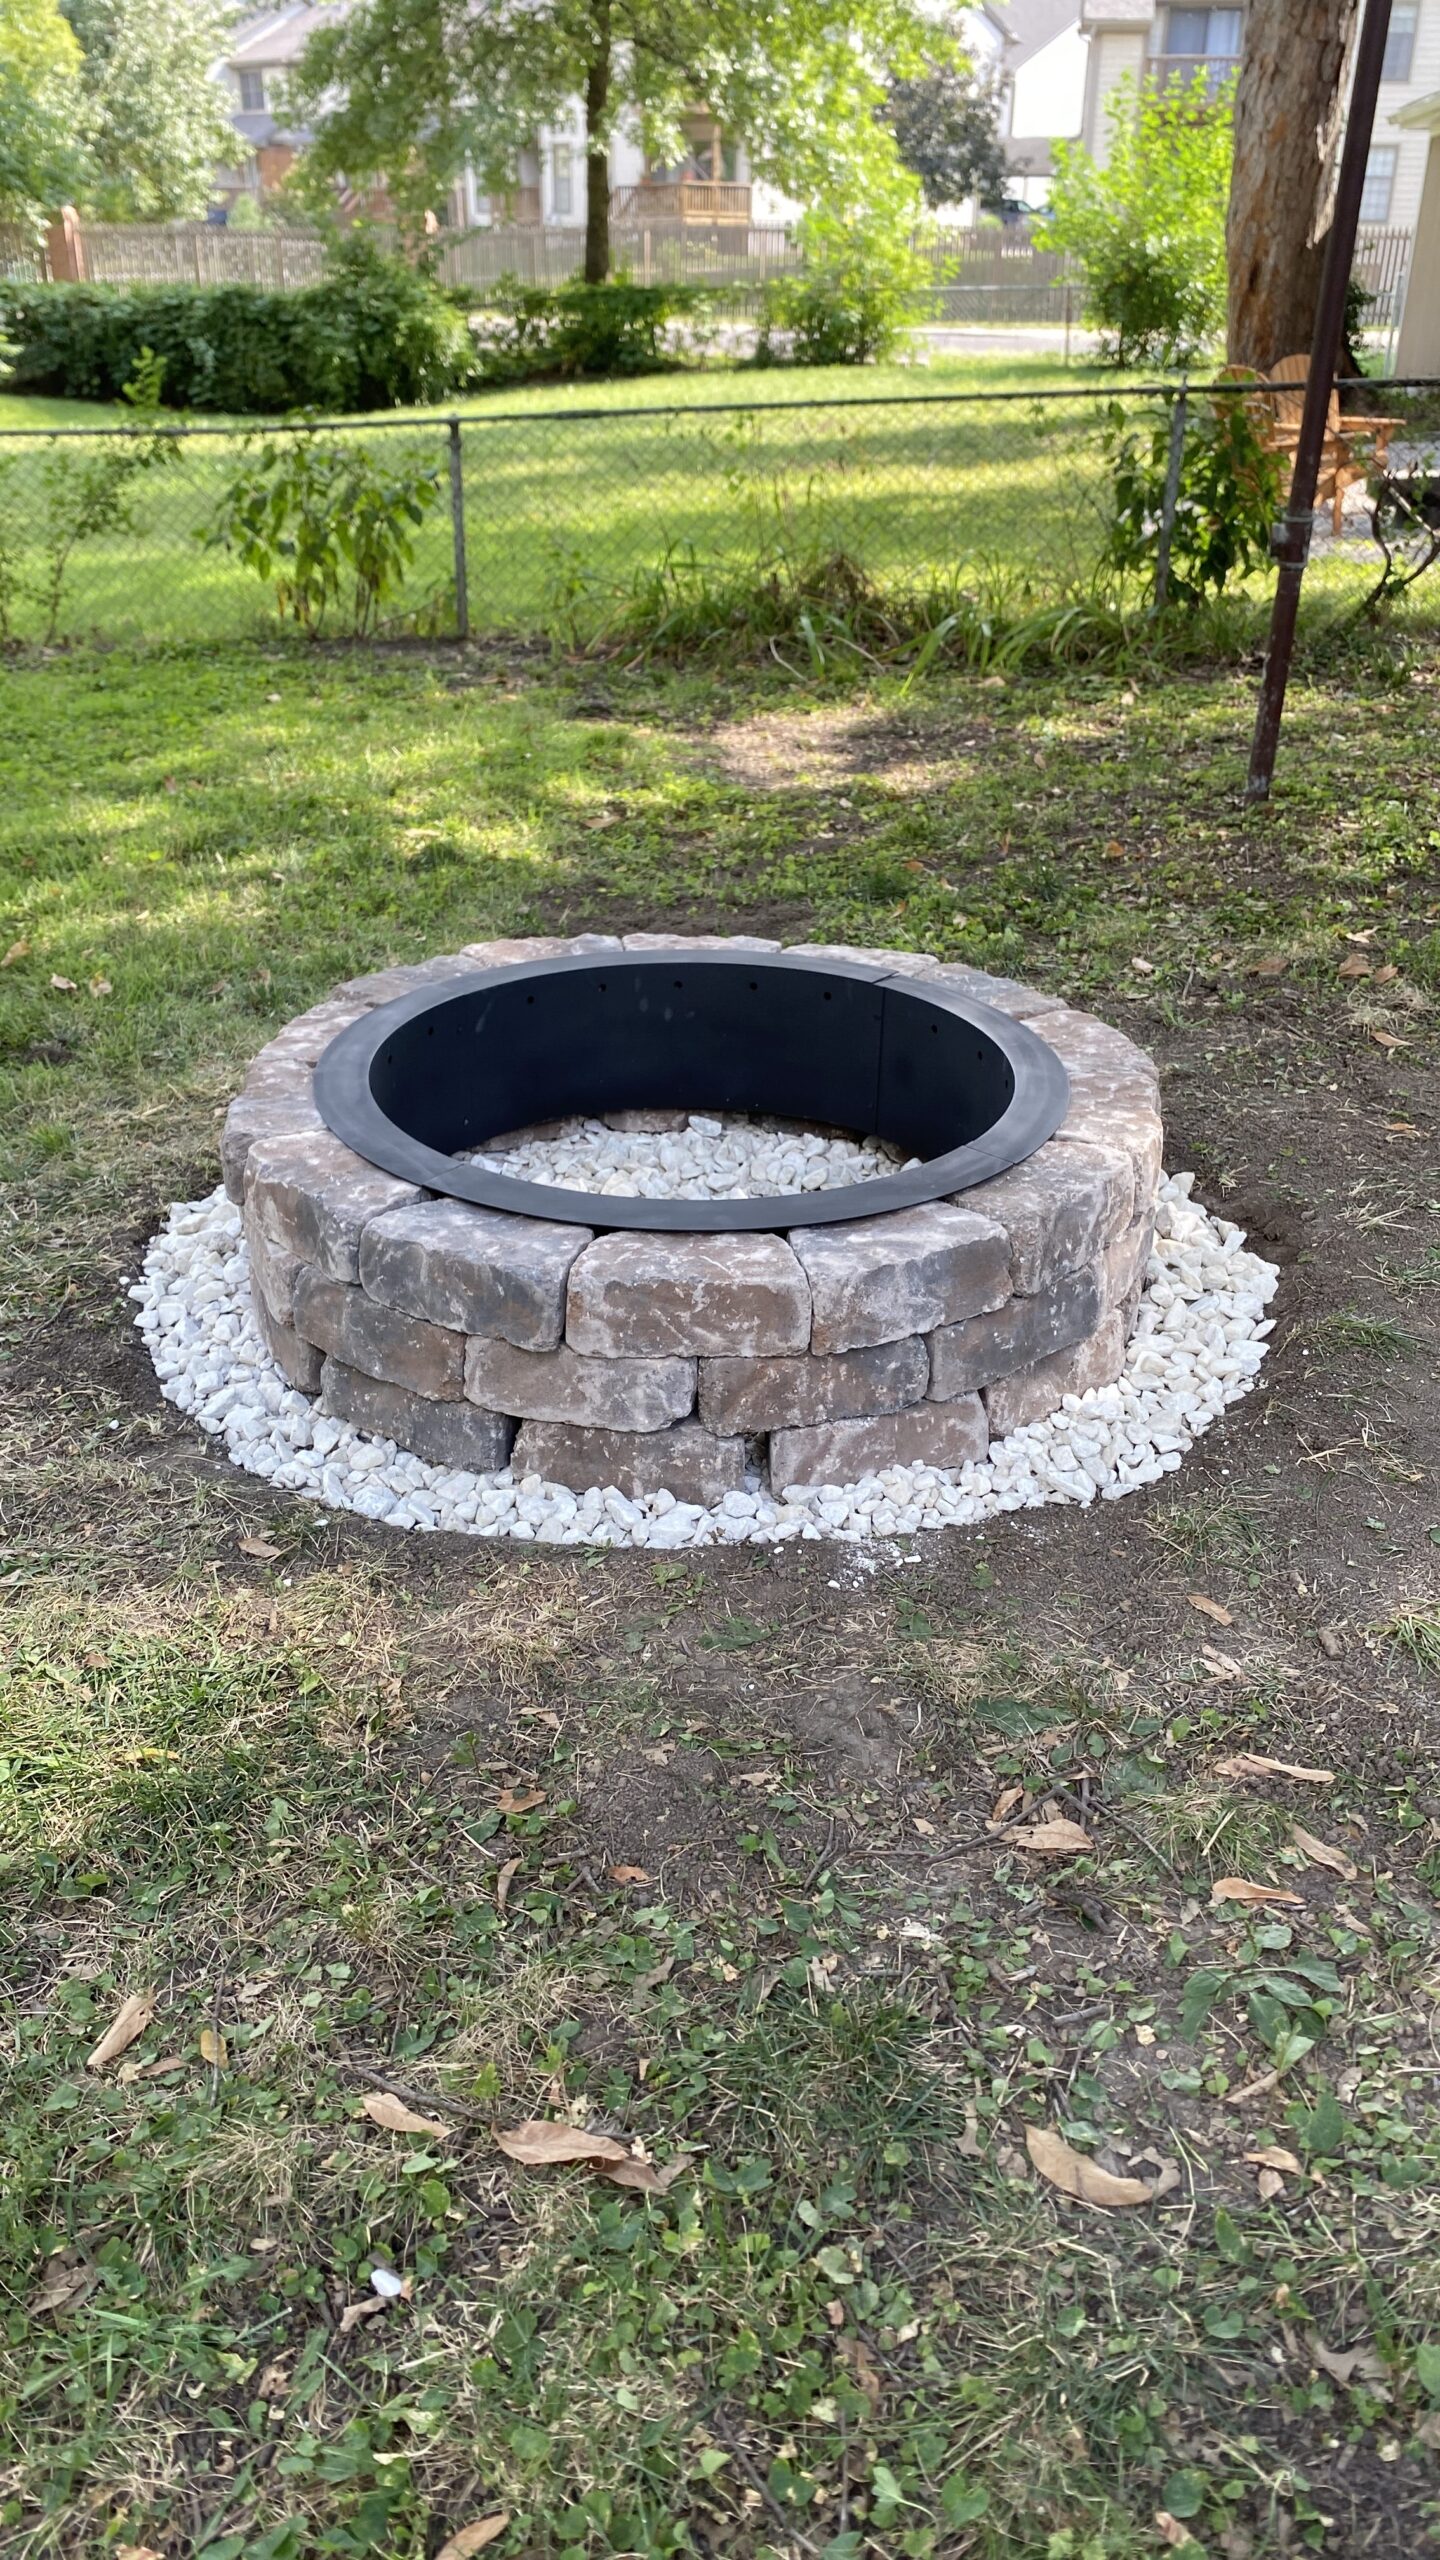
Does it work?
Yes! Again, it depends on the type of wood I’m burning and how hot the fire is, but the fire pit works great and has been a great addition to our backyard.
Safety and Maintenance
Don’t forget to have a fire extinguisher or water source nearby when using the fire pit. Being in the backyard, I have a garden hose close by. Regularly remove ash and debris to maintain airflow.
What’s next?
What’s next? I’m planning to make a cover for the top of the pit for when it’s not in use and eventually add more lighting nearby.
If you found this post helpful, consider subscribing to my newsletter to get exclusive content about DIY projects, industry news, and good deals I’ve found across the web. You can sign up here.